

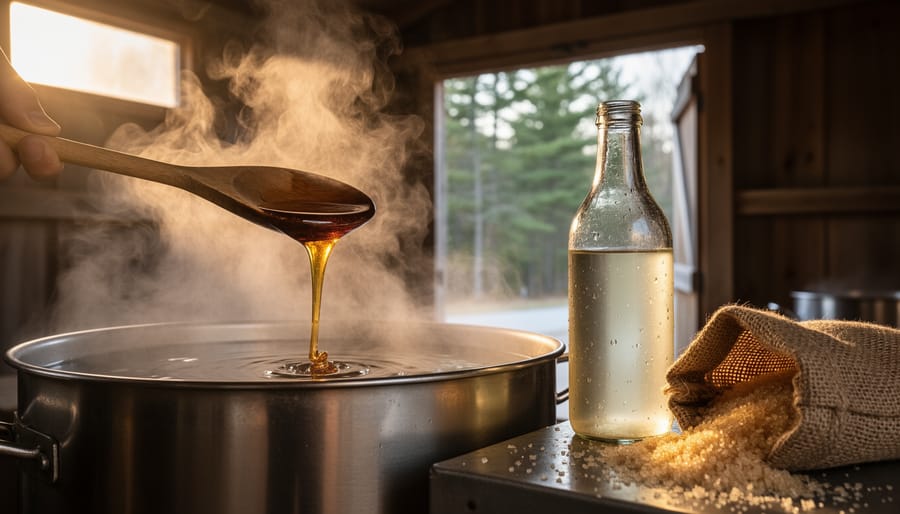

Making maple syrup requires tapping sugar maple trees in late winter, collecting the sap (which contains about 2% sugar), and boiling it down to concentrate the sugars until it reaches 66% sugar content and the rich amber syrup we all know. The entire process, from tree to table, takes roughly six to eight weeks during sugaring season and involves a 40:1 ratio of sap to finished syrup.
If you’ve ever wondered where maple syrup comes from or why Canada’s maple production dominates the global market, the answer lies in our climate and our sugar maples. These trees store starch in their roots during winter, and when temperatures fluctuate between freezing nights and warmer days (typically between February and April), that starch converts to sugar and flows as sap.
The magic happens during evaporation. What starts as thin, slightly sweet sap transforms into thick, golden syrup through careful boiling and temperature control. Small-scale producers often use backyard evaporators or even kitchen stovetops, while commercial operations run elaborate sugarhouses with reverse osmosis systems and professional evaporators. Either way, the fundamental chemistry stays the same.
Whether you’re planning to tap a few trees in your backyard or simply want to appreciate the craft behind your pancake topping, understanding this process connects you to a tradition that’s been part of Canadian culture for generations.
Table of Contents
What You Need to Make Maple Syrup
Making maple syrup requires more equipment than you might expect, but Canadians can start small and scale up as they gain experience. The good news is that backyard producers can begin with a modest investment, while commercial operations have access to specialized Canadian suppliers for larger-scale setups.
For tapping and collection, you’ll need the basics regardless of your operation’s size:
- Tapping equipment: drill with 5/16″ or 7/16″ bit, spiles (taps), and hammer
- Collection containers: traditional metal or plastic buckets with lids, or plastic tubing systems for multiple trees
- Evaporator or large flat pan: backyard producers often use turkey fryers or propane burners with stainless steel pans; commercial operations invest in specialized evaporators
- Candy or syrup thermometer: accurate to at least 219°F for proper syrup testing
- Filters and cheesecloth: orlon filters or multiple layers of cheesecloth to remove sugar sand
- Storage containers: food-grade glass jars or plastic jugs for finished syrup
- Hydrometer and test cup: optional for beginners but essential for consistent quality
Backyard producers can get started for a few hundred dollars with basic equipment from Canadian Tire, local hardware stores, or maple syrup supply shops like CDL (Centre de Développement du Porc du Québec) or Dominion & Grimm. A basic setup includes hand tools, five-gallon buckets, and a large stainless steel pan over an outdoor fire or propane burner.
Commercial operations require significant investment in larger evaporators, reverse osmosis systems to reduce boiling time, food-grade storage tanks, and bottling equipment. Canadian suppliers such as Leader Evaporator in Vermont (serving Canadian markets), Lapierre Equipment in Quebec, and CDL offer commercial-grade systems ranging from small hobby evaporators to industrial setups costing tens of thousands of dollars.
The scale you choose depends on how many trees you’re tapping and whether you’re making syrup for your family or selling it. Most Canadians start small to learn the process before expanding their operation.
Safety and Quality Considerations
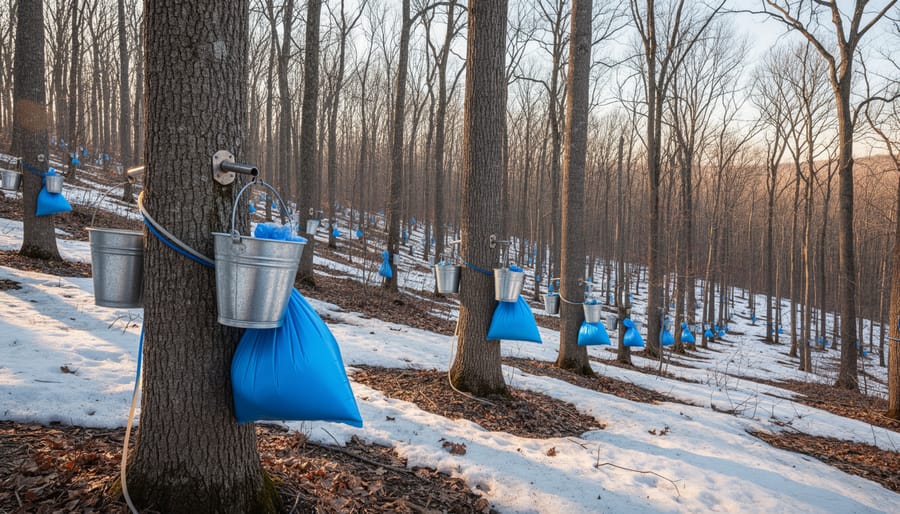
Making maple syrup safely requires attention to both personal safety and product quality. Whether you’re boiling a few litres in your backyard or running a larger operation, understanding these precautions protects you, your trees, and anyone who’ll enjoy your finished syrup.
Protecting your maple trees ensures you’ll tap them for years to come. Drill tap holes no deeper than 4 centimetres (1.5 inches) into the sapwood, and limit the number of taps based on tree diameter: one tap for trees 25-40 cm diameter, two for 40-60 cm, and three maximum for trees over 60 cm. Avoid tapping the same spot year after year, space new holes at least 15 cm from old wounds. Never tap a tree under 25 cm in diameter or one showing signs of stress or disease.
Food safety standards matter just as much as fire safety. Boil sap to at least 104°C (219°F) to kill potential bacteria and achieve proper sugar concentration. Filter finished syrup through clean felt or orlon filters to remove sugar sand and debris. Bottle syrup while it’s still hot (at least 82°C/180°F) into sterilized containers to create a proper seal and prevent mould growth.
Know when to stop collecting sap for the season. Once temperatures stay consistently above freezing, sap flow stops and quality drops. If sap appears cloudy, smells off, or tastes sour, discard it, these signs indicate bacterial contamination. Sap that produces dark, off-flavoured syrup near season’s end signals it’s time to pull your taps and let the trees recover.
The Maple Syrup Production Process: Step by Step
Identifying the Right Trees and Timing
Successful maple syrup production starts with choosing the right trees at the right time. Sugar maples are the gold standard, producing sap with the highest sugar content (typically 2-3%), which means less boiling time. Red maples and black maples also work well, though their sap runs slightly lower in sugar. Any healthy maple tree with a diameter of at least 25 centimetres (10 inches) can be tapped.
Timing depends entirely on weather patterns. Sap flows when temperatures drop below freezing at night (ideally -4°C to -7°C) and rise above freezing during the day (4°C to 7°C). This freeze-thaw cycle creates pressure that pushes sap up through the tree. When temperatures stay consistently warm, the flow stops and the season ends.
Across Canada, the maple syrup season varies by region. In southern Ontario and Quebec’s Eastern Townships, tapping typically begins in late February or early March. Further north in Quebec and the Maritimes, the season often starts mid-March and can run into April. In some northern areas, producers don’t tap until late March.
Watch for these signs that the season is starting: daytime temperatures climbing above freezing, snow beginning to settle and compact, and maple buds still tight and dormant. Once buds begin to swell, the sap develops an off-flavour and the season is over.
Tapping and Collecting Sap
Drill your tap hole 5 to 10 centimetres above the ground on the south side of the tree where sun exposure encourages sap flow. Use a drill bit slightly smaller than your spile, typically 10 millimetres in diameter, and bore at a slight upward angle to help sap drain outward. Stop when you reach a depth of 4 to 5 centimetres into the sapwood; going deeper won’t increase yield and can harm the tree.
Tap the spile gently into the hole with a hammer until it feels snug, not forced. Sap should begin dripping within minutes if conditions are right. Hang your collection bucket on the spile’s hook and cover it with a lid to keep out rain, debris, and insects.
For backyard setups, food-grade buckets work perfectly and let you check sap levels daily. A healthy mature tree, at least 30 centimetres in diameter, can support one tap and typically yields 35 to 75 litres of sap per season, though this varies with weather. Trees over 50 centimetres can handle two taps placed on opposite sides.
Commercial producers use plastic tubing systems that connect multiple trees to a central collection tank, reducing labour and keeping sap cleaner. Gravity-fed lines slope gently downhill, while larger operations add vacuum pumps to increase flow by 50 percent or more.
Empty buckets daily during active runs when daytime temperatures climb above freezing and nights drop below. Fresh sap looks clear like water and tastes faintly sweet. Process or refrigerate it within seven days, as cloudy or yellowish sap has spoiled and won’t make quality syrup.
Boiling and Evaporation
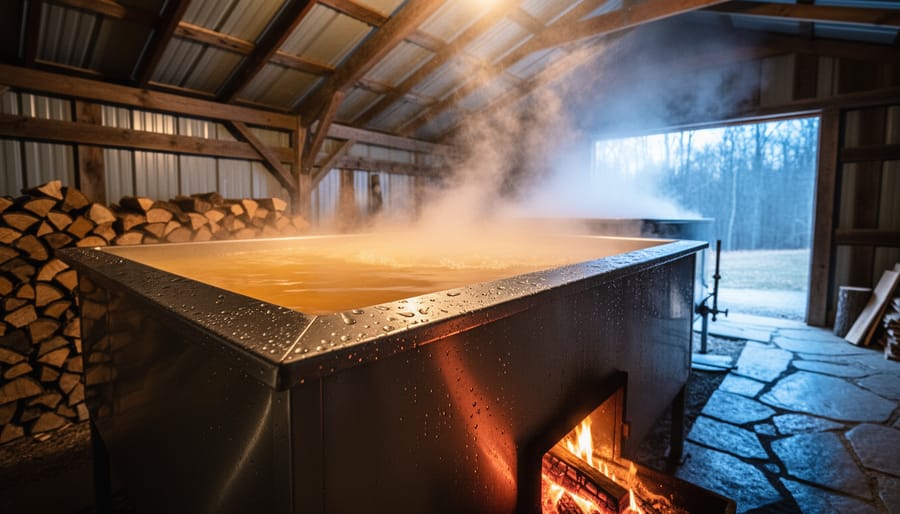
Once you’ve collected enough sap, the real magic happens. This is where watery tree sap transforms into the thick, amber syrup Canadians know and love. The process is straightforward but requires patience and attention.
Start by pouring your raw sap into your evaporator or large, flat-bottomed pan. You’ll need roughly 40 litres of sap to produce one litre of finished syrup, that’s a 40:1 ratio. The exact amount varies slightly depending on the sugar content of your sap (typically 2-3% sugar), but this gives you a realistic expectation of yield.
Bring the sap to a rolling boil over your heat source. For backyard producers, this might be an outdoor propane burner or wood fire. Commercial operations use specialized evaporators designed for efficiency. Never boil sap indoors unless you have proper ventilation, the steam produced is massive and can damage walls and ceilings.
Maintain a consistent boil and add fresh sap gradually as the liquid level drops. The goal is steady evaporation, not a violent, uncontrolled boil that risks scorching. Watch the foam carefully; if it threatens to boil over, a small drop of butter or cooking oil calms it down immediately.
As water evaporates, the sap darkens and thickens. This stage can take several hours for small batches, or run continuously for days in commercial sugar shacks during peak season. Monitor the temperature as it climbs toward 104°C (219°F), which signals you’re approaching syrup density. Stop adding new sap when you’re close to finishing.
Testing, Filtering, and Bottling
Testing for proper density is crucial, syrup must reach 66-67% sugar content to achieve the right consistency and prevent spoilage. Use a hydrometer or refractometer to measure density when the syrup reaches approximately 219°F (104°C), adjusting one degree for every 500 feet above sea level. The hydrometer should float in the red “syrup” zone; if it sinks, continue boiling. A refractometer gives an instant digital reading and works well for small batches.
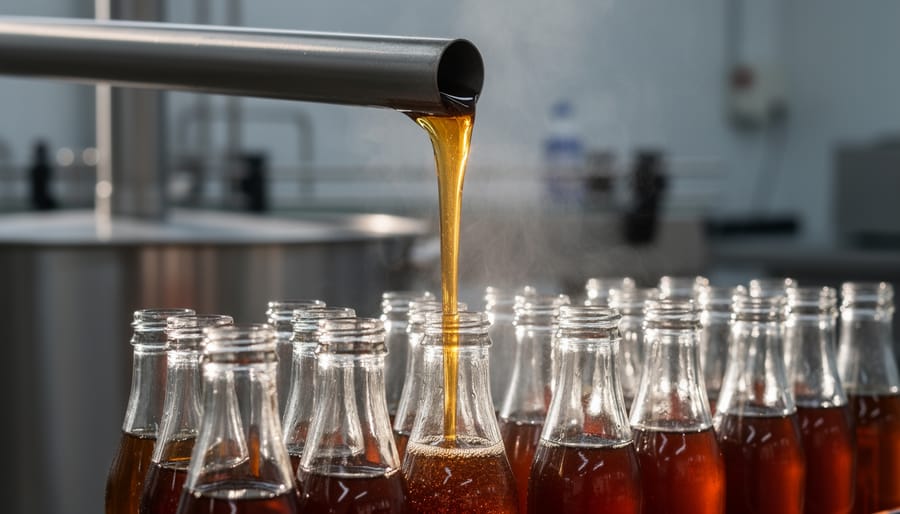
Once your syrup hits the target density, remove it from heat and begin filtering. Sugar sand (also called niter) forms during boiling and creates a gritty texture if not removed. For best results, filter while the syrup is still hot, between 180-190°F, through orlon or felt filters. Many Canadian producers use cone filters suspended over collection pots. Gravity does the work, though it takes patience. Never squeeze the filter or you’ll push sediment through. Some operations pre-filter during boiling and do a final polish after.
Bottle immediately after filtering while syrup stays above 180°F. Hot packing creates a vacuum seal as the syrup cools, extending shelf life. Use clean glass jars or food-grade plastic containers, filling to within half an inch of the rim. Lay bottles on their sides for a few seconds to sterilize the cap, then store upright. Properly sealed syrup lasts indefinitely at room temperature unopened. Any cloudiness after bottling usually indicates sugar sand got through, still safe to eat, just less visually appealing.
Grading Your Finished Syrup
Canada grades finished maple syrup using a four-tier system based on colour and flavour intensity. Golden syrup, the lightest, comes from sap collected early in the season and has a delicate, mild taste. Amber follows with a richer maple flavour, then Dark with a more robust, pronounced taste. Very Dark, the strongest, typically comes from late-season sap and works well for cooking and baking.
What determines your syrup’s grade? Mostly timing. Sap collected at the season’s start produces lighter syrup. As temperatures warm and bacteria naturally multiply in the tree, sap chemistry changes, yielding darker, stronger-flavoured syrup. Boiling temperature and duration also play minor roles, but the sap itself drives the grade.
Commercial producers use a spectrophotometer to measure light transmission through the syrup, assigning grades objectively. Home producers can estimate by holding a sample bottle against a white background or comparing to official grading kits available from Canadian maple equipment suppliers. All grades meet the same density standard, your syrup’s grade reflects flavour preference, not quality.
How to Tell When Your Syrup Is Ready
The difference between perfect maple syrup and sweet sap comes down to precise testing. Raw sap contains only 2% sugar, while finished syrup must hit 66-67% sugar content to qualify as authentic maple syrup under Canadian standards. Here’s how to verify your batch is ready.
The most reliable method is temperature testing. Properly finished syrup boils at exactly 7°F (4°C) above the boiling point of water at your elevation. At sea level, that’s 219°F (104°C). Use a candy thermometer clipped to your evaporator pan and watch for this exact temperature. If you’re working at higher elevations in British Columbia or Alberta, boil a pot of plain water first to find your local boiling point, then add seven degrees.
A hydrometer offers the gold standard for accuracy. Float this weighted glass instrument in a sample of hot syrup (211°F/99°C works best), and the red line should settle right in the “syrup” zone. The reading shows sugar density directly. Many Canadian producers keep a hydrometer cup specifically for this test because it eliminates guesswork entirely.
The traditional apron test works without equipment. Dip a cold metal spoon into boiling syrup, lift it horizontally, and watch how the liquid drips off. Thin sap drips as separate drops. Finished syrup forms two distinct drops that merge and fall together in a small sheet or “apron” off the spoon’s edge.
Visual cues help too. Ready syrup looks noticeably thicker than sap, coats the back of a spoon, and develops a glossy sheen. The colour will have deepened from clear to amber or darker, depending on your sap’s mineral content and boiling duration.
If your syrup is too thin (below 66% sugar), just keep boiling. Check the temperature every few minutes until you hit the target. Too thick happens less often but ruins the texture. You can carefully add a small amount of filtered, hot sap and reboil to the correct density, though most producers simply use over-dense syrup for cooking rather than table use.
Taste provides the final confirmation. Proper syrup tastes sweet but balanced, never watery or gritty. A slight mapley richness should come through clearly. If it tastes weak or thin on your tongue despite hitting the right temperature, something went wrong earlier in the process, likely contamination or poor-quality sap.
After Production: Storage and Next Steps
Once your syrup cools, pour it into sterilized glass jars or bottles while still hot (180-190°F) to create a vacuum seal. Sealed properly, unopened maple syrup stores at room temperature for years in a cool, dark pantry. For detailed guidance on how to store maple syrup and how long it lasts those resources cover shelf life specifics and refrigeration requirements after opening.
Your finished syrup works beautifully drizzled over pancakes and waffles, stirred into oatmeal or yogurt, or used as a natural sweetener in baking and marinades. Many Canadian producers gift small bottles to friends and family, especially around holidays. Consider making maple candy by boiling syrup to soft-ball stage and pouring it over snow, or reducing it further into maple sugar for a concentrated sweetener. If you end up with more than you need, local farmers’ markets sometimes welcome small-batch producers, or you can simply enjoy experimenting with this genuinely Canadian ingredient in your kitchen throughout the year.
Common Questions About Making Maple Syrup
How long does it take to make maple syrup?
The sap collection season typically runs 4-6 weeks, but the actual boiling process depends on your setup, backyard producers might spend 6-8 hours boiling for each batch, while larger evaporators work much faster.
Can I tap maple trees in my backyard?
Yes, as long as you have healthy sugar maples, red maples, or black maples that are at least 25-30 cm (10-12 inches) in diameter. Just one or two trees can produce enough sap for a small family operation.
How much syrup will one tree produce?
A single tap typically yields 35-45 litres of sap per season, which boils down to roughly 1 litre of finished syrup. Larger trees can support multiple taps and produce more.
What should I do if my syrup crystallizes?
Gentle reheating will dissolve the sugar crystals. This happens when syrup has slightly too much sugar content or has been stored for a long time, but it’s perfectly safe to use once warmed.
Beyond these common questions, new producers often worry about costs. A basic backyard setup with taps, buckets, and a large pot runs around $100-200, though serious hobbyists investing in evaporators and tubing systems might spend considerably more. The good news is that equipment lasts for years, and many Canadians find the hands-on experience and exceptional flavour worth the initial investment and time commitment.


